
CUTTING LATHES - DIAMOND STYLUS - BLANK RECORDS
Dont have an account? Sign up
Latest blog View all
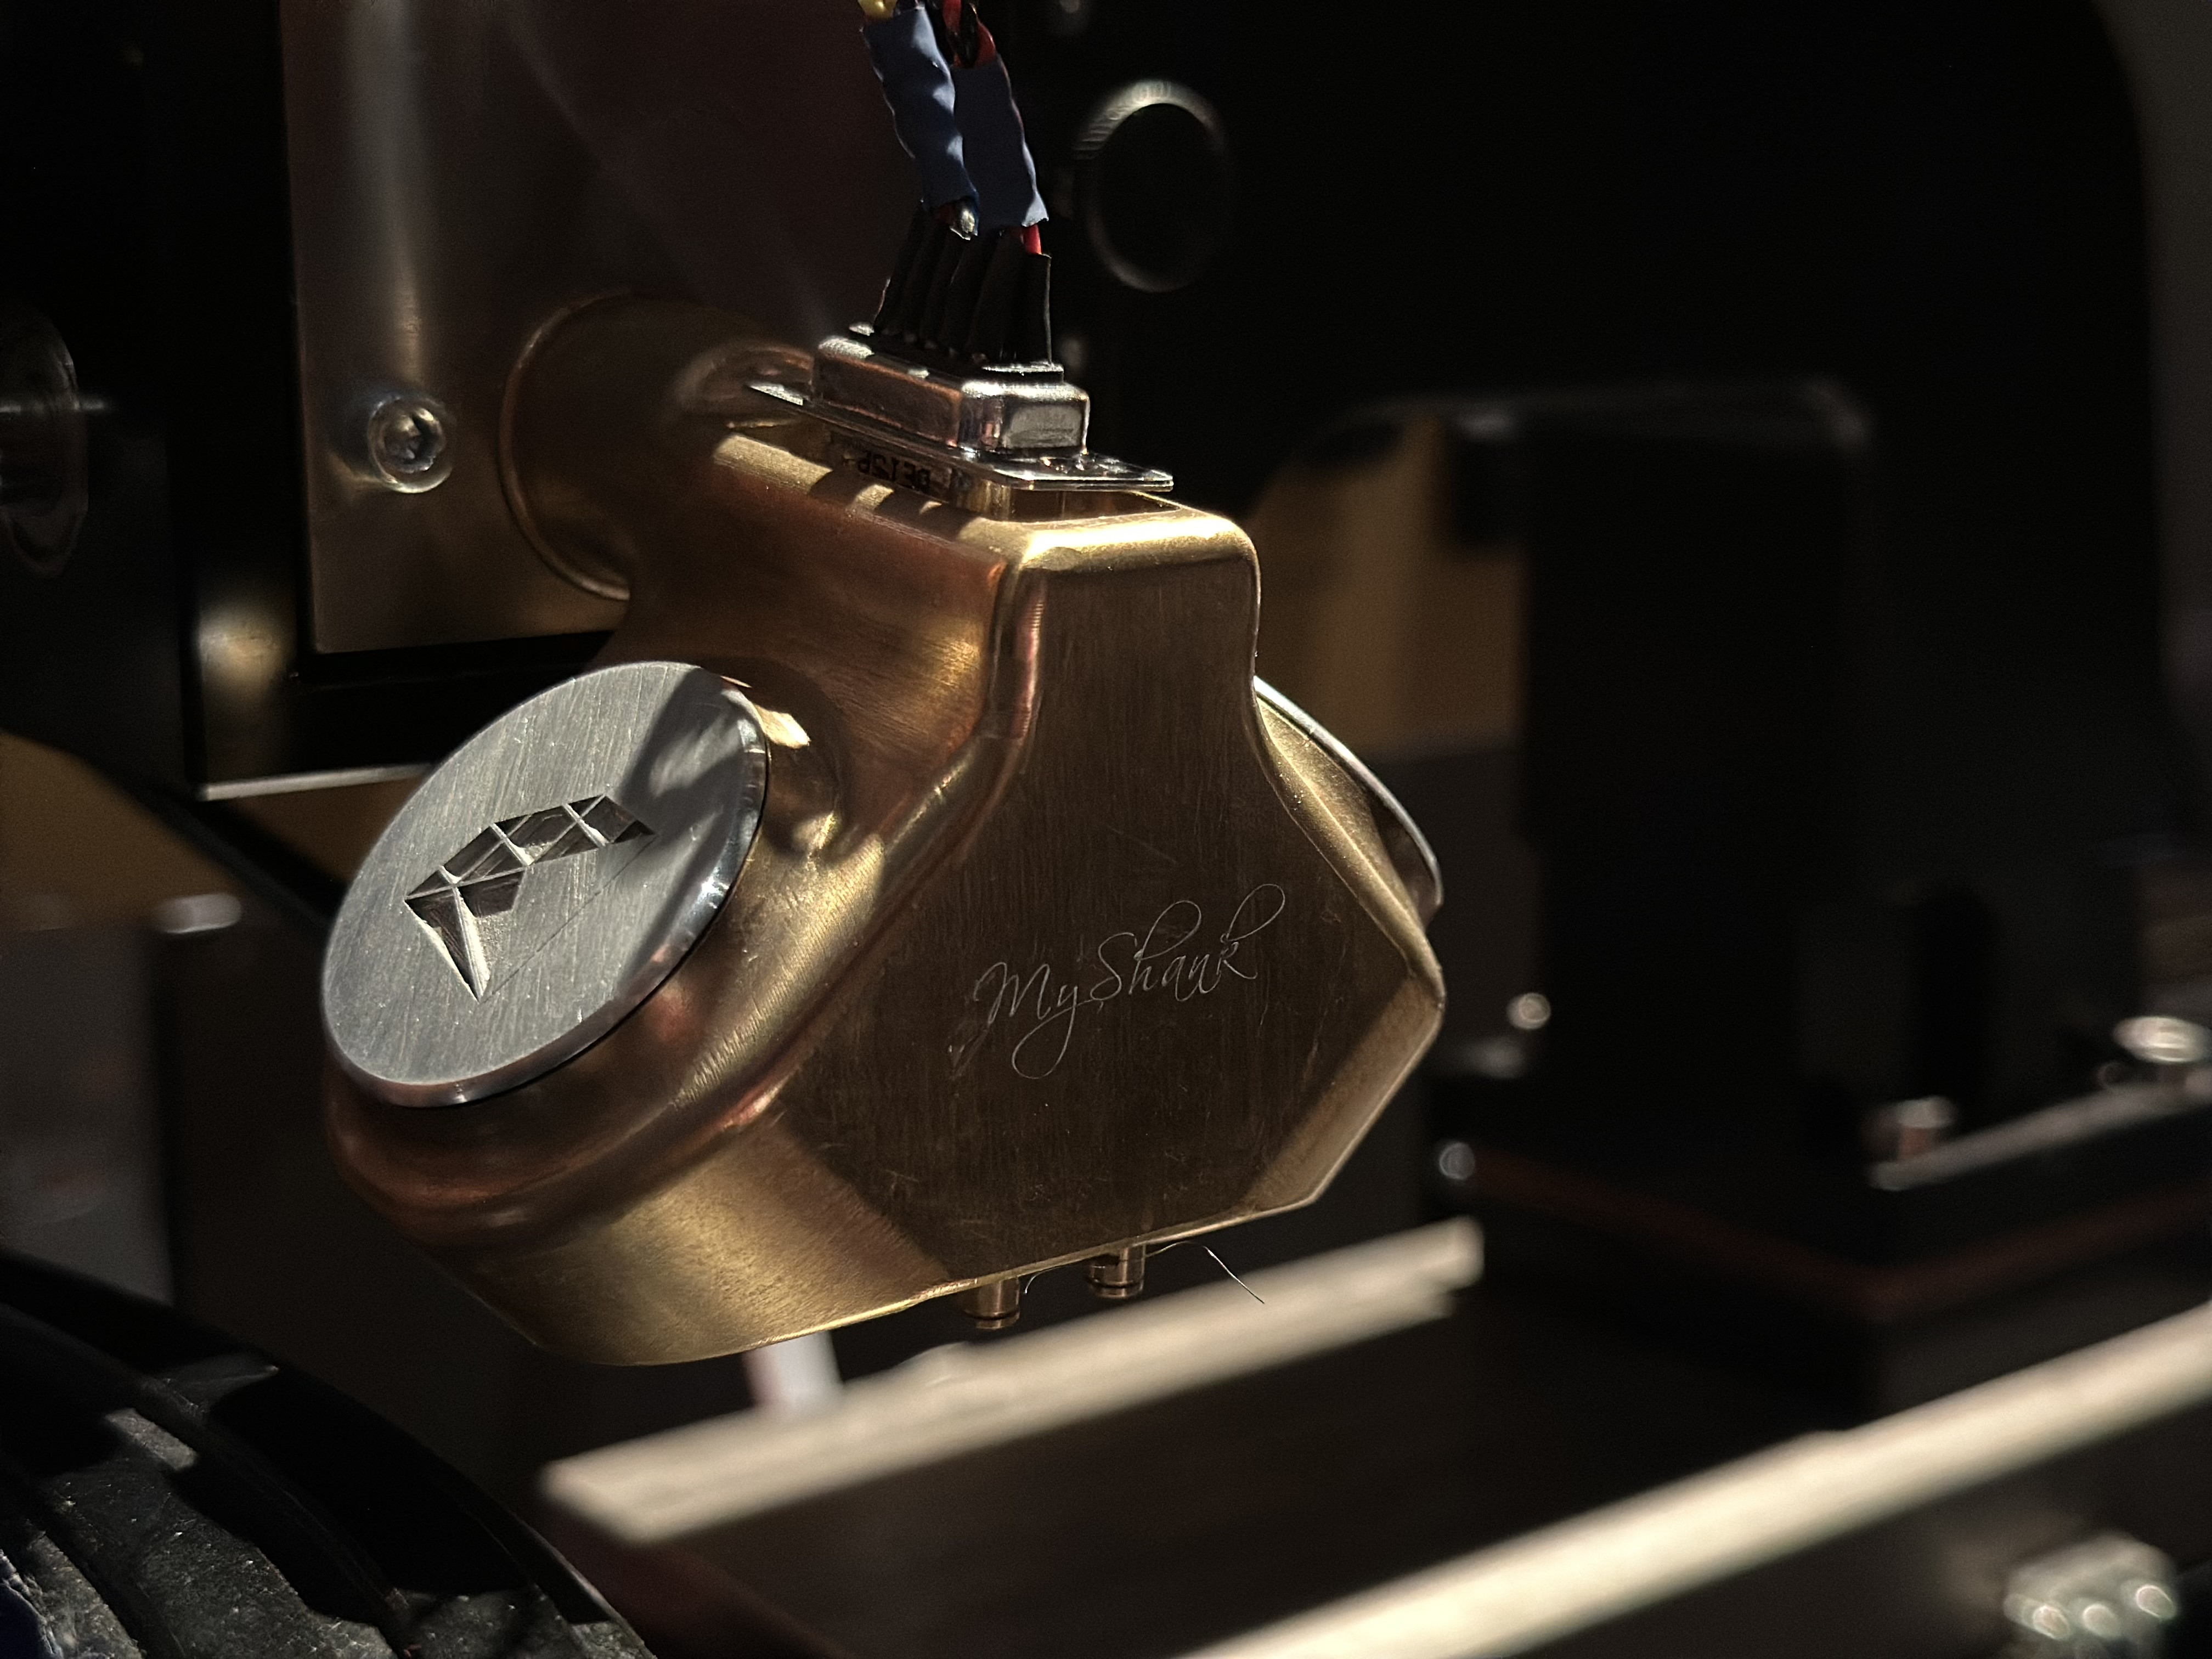
Give your diamond stylus a second life! Re-sharpening is a smart, eco-friendly and cost-effective way
Stylus Resharpening 2025-07-06
Why You Should Have Your Cutting Styli Re-Sharpened A smart, cost-effective, and eco-friendly choice! In the...
We’re taking a short summer break — find out when and how it might affect your orders (spoiler: not for long!).

Summer Break 2025 2025-07-05
Summer Break Alert! We’ll be on holiday from August 1st to August 12th. During this time, shipping will be paused —...
Often underestimated, the dashpot plays a vital role in groove stability, stylus lifespan, and background noise...
Dashpot Mastery: The Silent Hero of Vinyl Record Cutting 2025-06-19
The Importance of the Dashpot in Vinyl Record Cutting Often overlooked by beginners, the dashpot is actually one...
Since the website update, some menus may be less intuitive at first glance. This quick guide walks you through how to...

How to Select and Order Products on Our New Website 2025-06-11
How to Properly Order Products on Our Website Since we changed the website, we understand that the new layout may...
A complete guide to what makes a cutting stylus truly professional — from CVD vs. natural diamonds to polish,...

How to Identify a High-Quality Vinyl Cutting Diamond 2025-06-09
Vinyl Cutting Styli: Understanding Diamond Quality In vinyl record cutting, the diamond stylus isn’t just a...
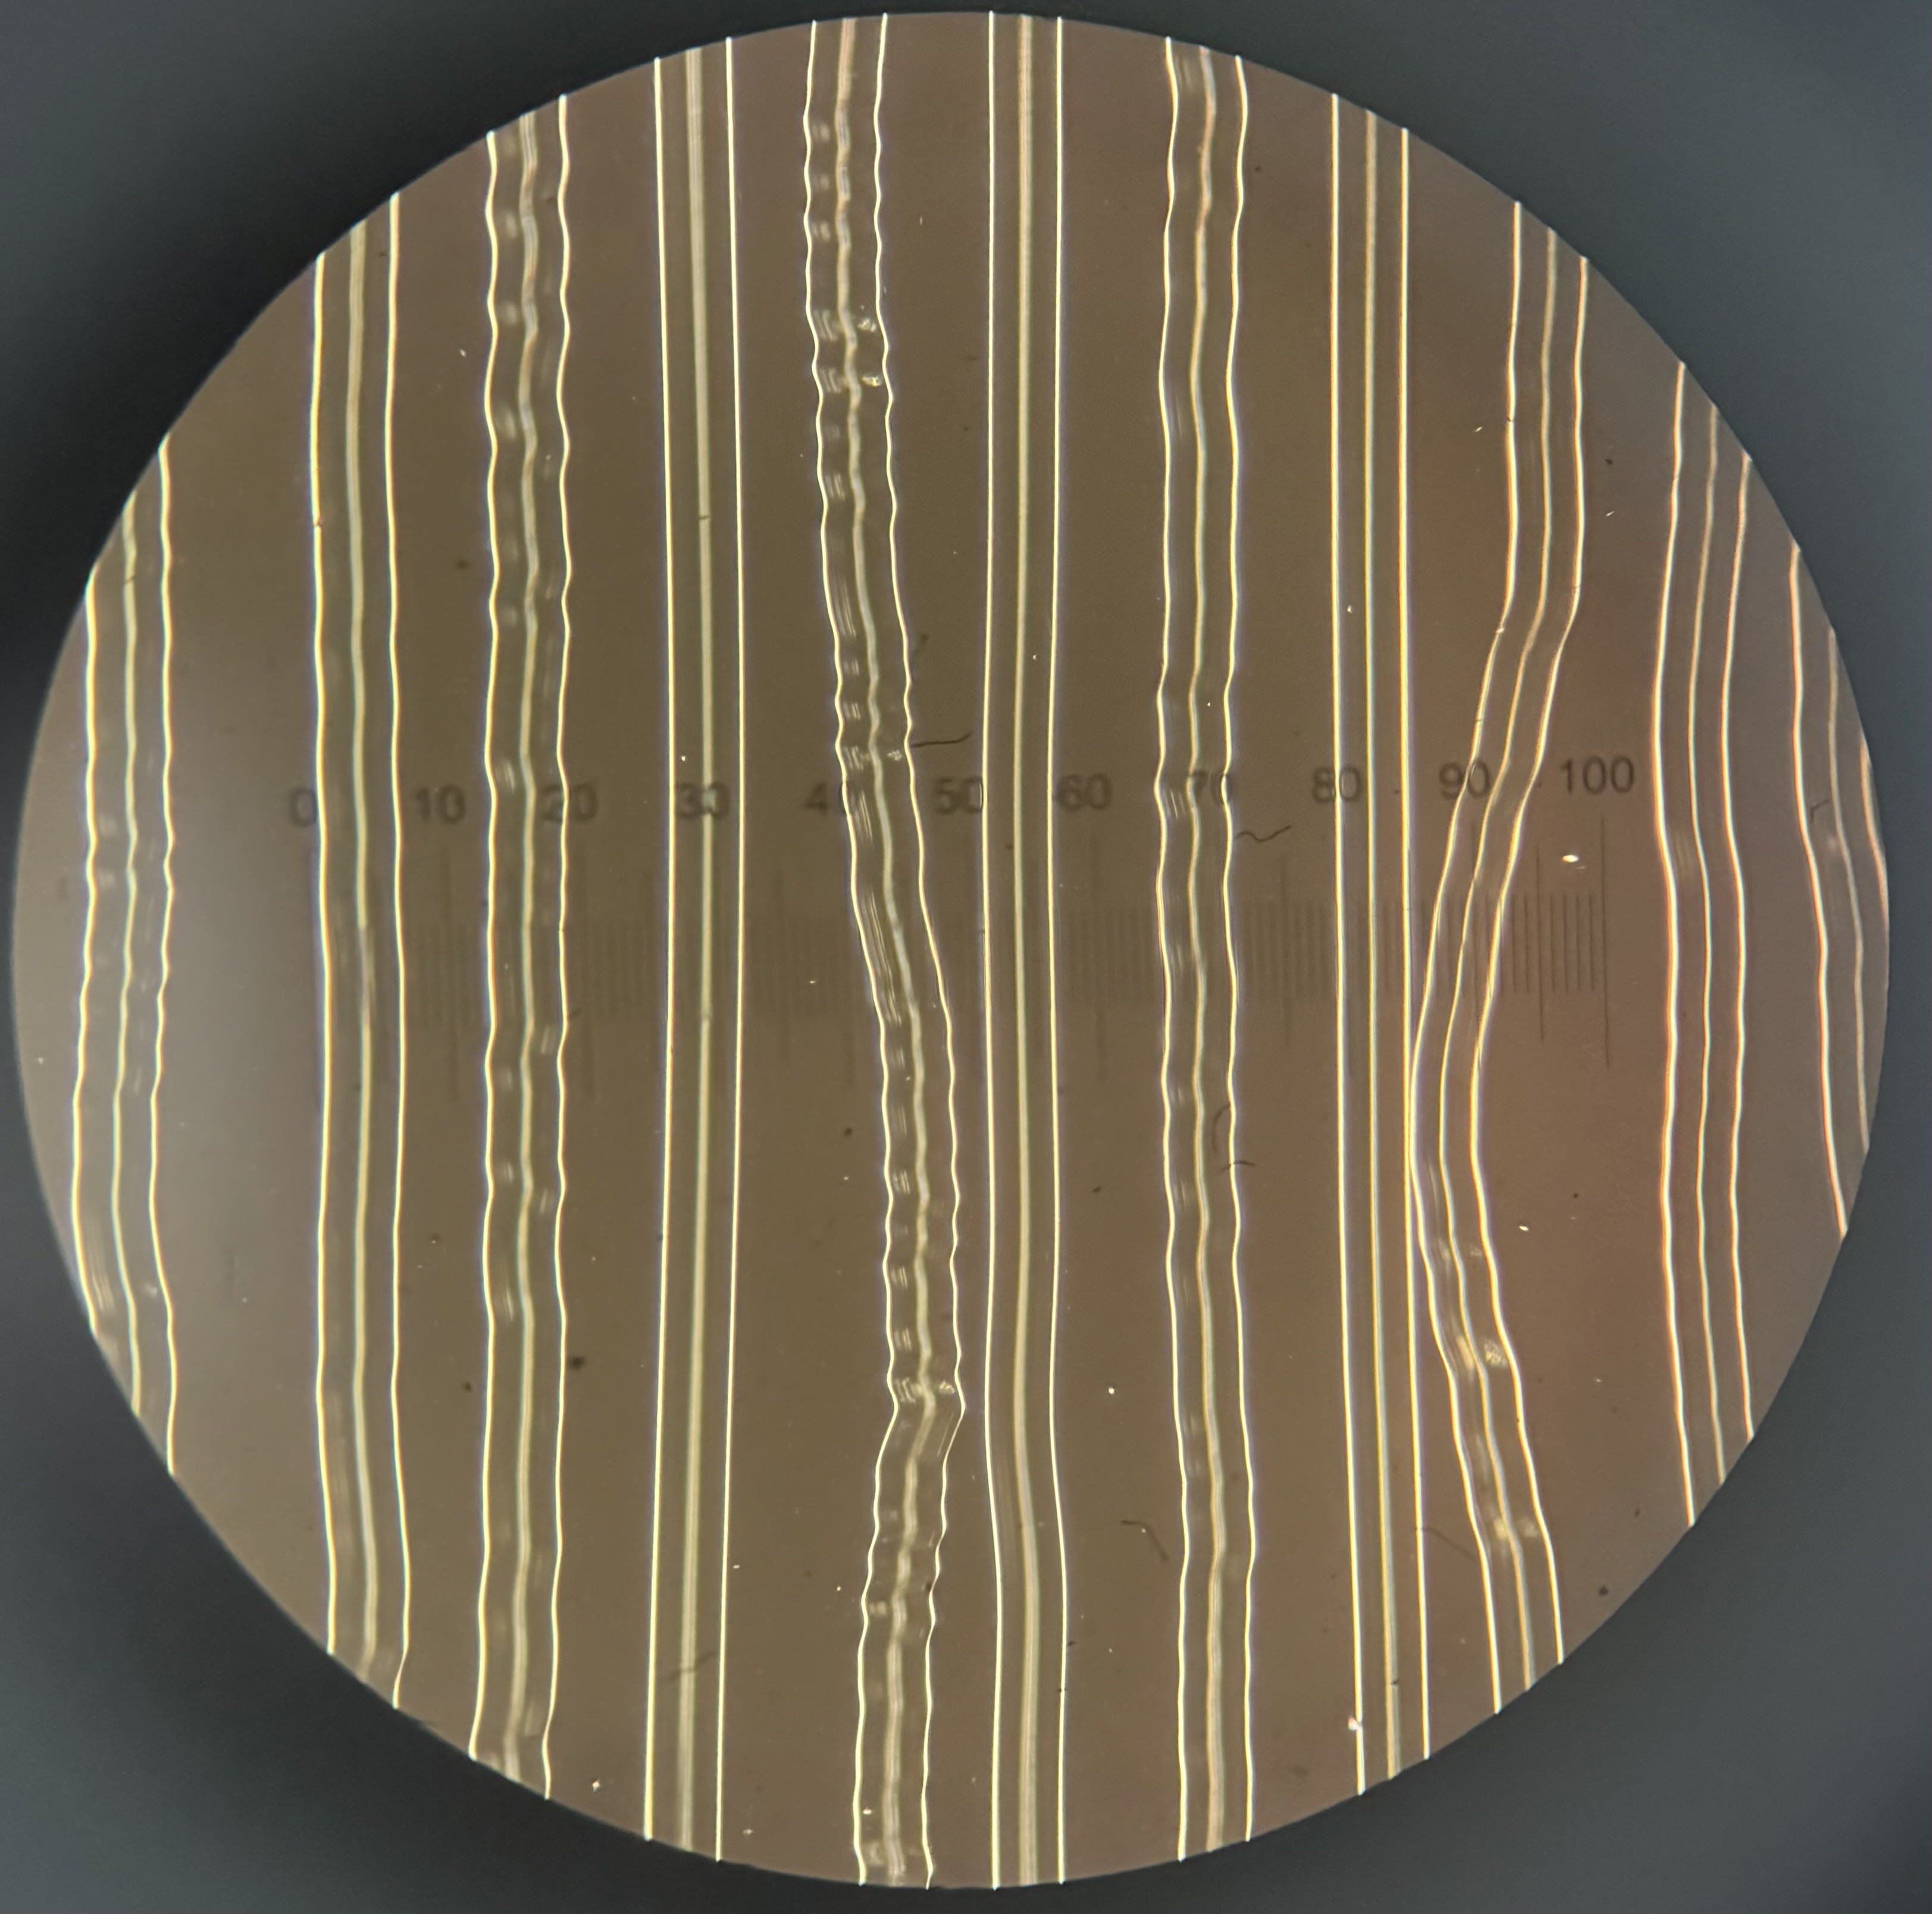
Learn how to properly calibrate groove width on small vinyl cutting lathes for plastic discs. Understand the role of...
Accurate Groove Width Setup for Plastic Disc Cutting Systems 2025-06-07
How to Calibrate Groove Width (aka “the Weight”) in Record Cutting Before diving into groove width calibration,...

Stylus Resharpening 2025-06-07 18:43:06
Give your diamond stylus a second life! Re-sharpening is a smart, eco-friendly and cost-effective way

Summer Break 2025 2025-06-07 18:43:06
We’re taking a short summer break — find out when and how it might affect your orders (spoiler: not for long!).

Dashpot Mastery: The Silent Hero of Vinyl Record Cutting 2025-06-07 18:43:06
Often underestimated, the dashpot plays a vital role in groove stability, stylus lifespan, and background noise...

How to Select and Order Products on Our New Website 2025-06-07 18:43:06
Since the website update, some menus may be less intuitive at first glance. This quick guide walks you through how to...

How to Identify a High-Quality Vinyl Cutting Diamond 2025-06-07 18:43:06
A complete guide to what makes a cutting stylus truly professional — from CVD vs. natural diamonds to polish,...

Accurate Groove Width Setup for Plastic Disc Cutting Systems 2025-06-07 18:43:06
Learn how to properly calibrate groove width on small vinyl cutting lathes for plastic discs. Understand the role of...
